This page is obsolete. I'm keeping it for archival purposes.
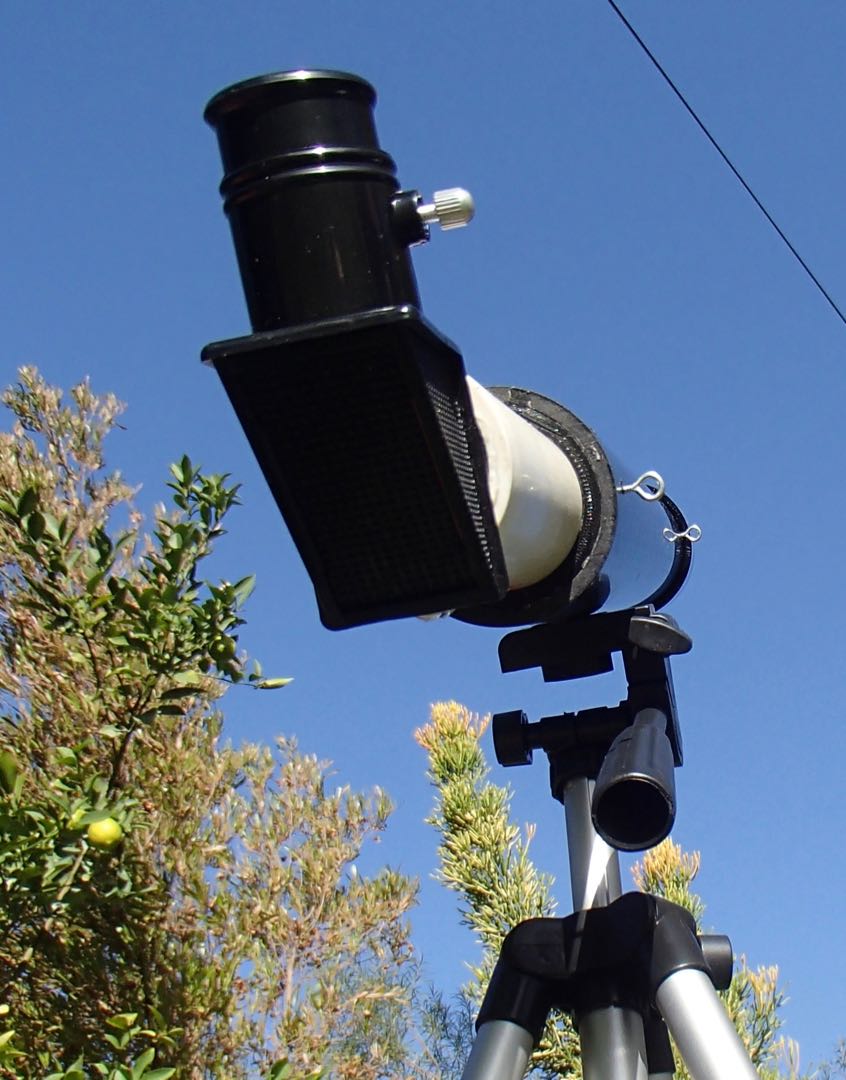
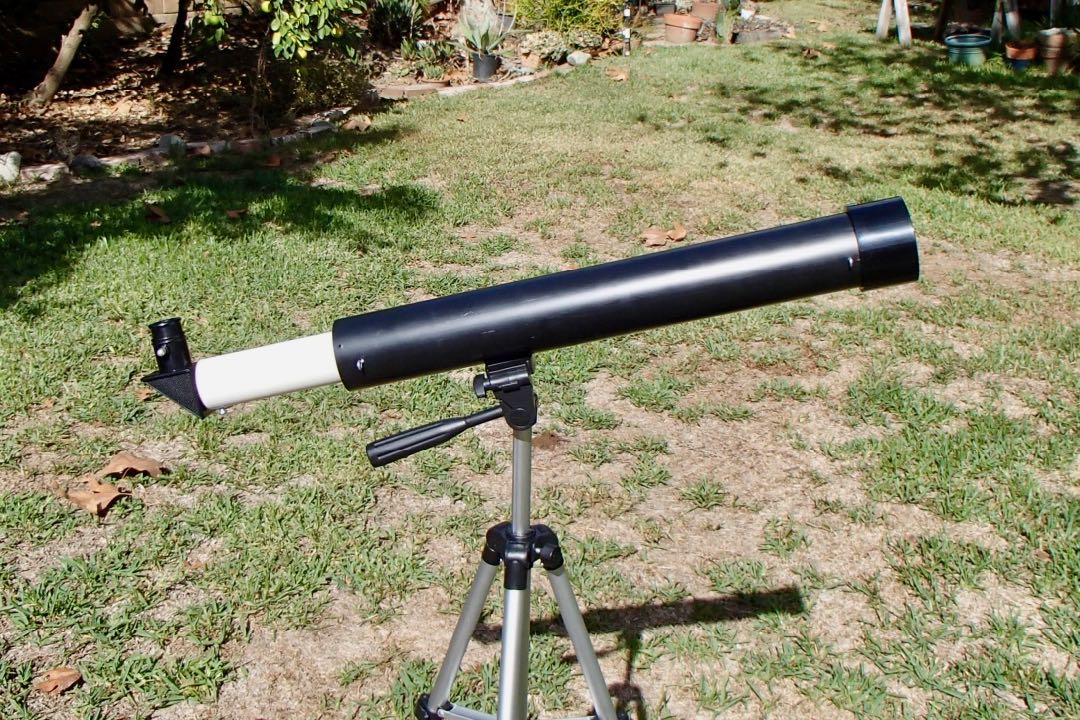
Mount SAC Astronomy students. You can easily make your own telescope! It will give beautiful views of the Moon's craters, the phases of Venus and the moons of Jupiter, Saturn's rings. It's much better than Galileo's telescope.
With this telescope the picture is right-side-up. So it also works well for bringing birds and distant wildlife up close. BUT, the picture is flipped left-to-right. So writing on distant signs will be backwards.
I made the telescope you see above.
With the recommended configuration, you have three eyepieces which will give you three magnifications.
The 20 mm eyepiece will give you x30 magnification. The 12.5 mm eyepiece will give you x48 magnification. The 6 mm eyepiece will give you x100 magnification.
At highest magnification, I could see the cloud bands of Jupiter (just barely) and Saturns rings (very clearly). That's super good, but there is a downside to the highest magnification: the field-of-view is very narrow, so aiming the telescope becomes difficult.
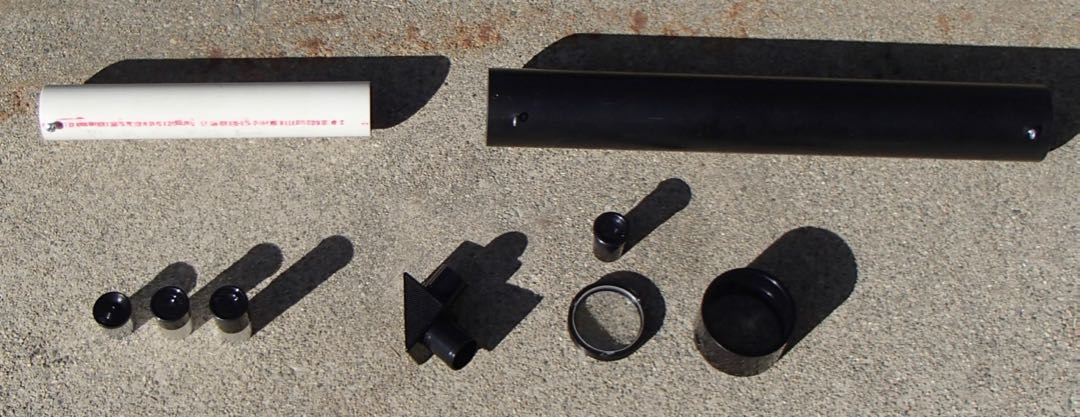
Parts list
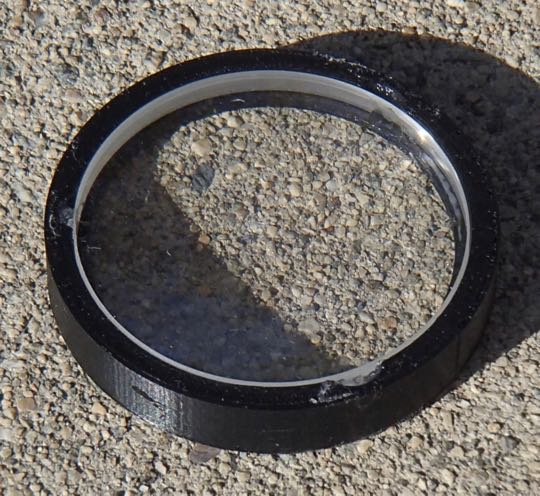
- Objective lens $8.00
- Set of three eyepieces. $11.50
- Cheaper alternative: You can get the objective lens bundled with one eyepiece for $11.50 saving you $8.00.
- Surplus shed charges $6.00 for shipping.
- Star diagonal mirror to make the image right-side-up $6.95
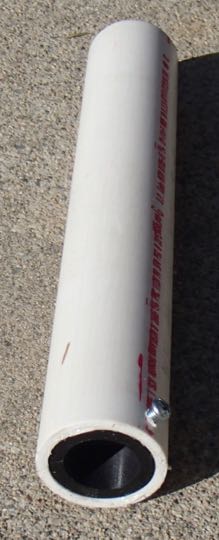
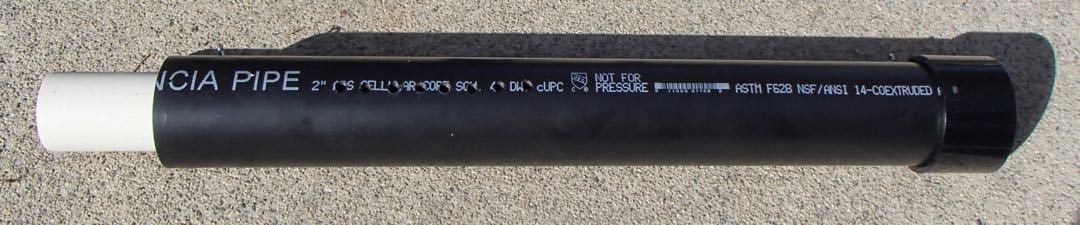
- Pipe, PVC 1 1/4 inch inside diameter (note 1), for the focusing tube. $7.31 (Inflation!) Cut it to a length of 425 mm (16 3.4 inches). 245 mm (9 and 5/8 inches)
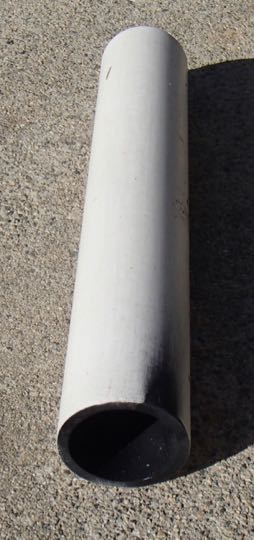
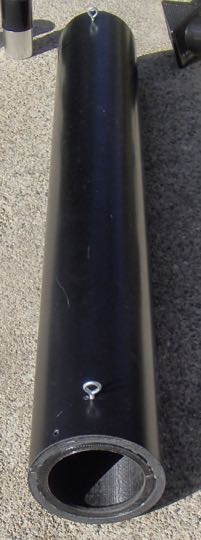
- Pipe, ABS 2 inch o.d. (note 2), for the telescope tube. $8.97 Cut is to a length of
- Dewcap is made from a PVC pipe coupling. $2.43
- Flat black spray paint to cut down reflections inside the pipes. $6.58
- 3-D printed parts: Objective lens holder, focusing tube rings,
adaptor ring for star diagonal. I can provide these for the cost of mailing. Free to my students.
I can also email you the STL files so you can print them yourself.
- Alternative if you can't get the 3-D printed parts. Masking tape to hold the objective, for the focusing tube, to hold the star diagonal. $2.68. Please look at the old 2020 telescope design videos to see how that works.
- Silicone glue to hold the objective lens and spacer rings. $6.28 (Not needed if you get the tape)
- Small screw eyes to aim the telescope. $1.38
- 8-32, 1/2 inch long machine screw to hold the star diagonal in place. $1.38
- Camera tripod. (I already had one from Daiso.)
Total spent: $69.43 (Includes shipping but not tax.)
You can save $8.00 getting the objective and eyepiece combination.
You can save $2.68 by using 3-D printer parts instead of masking tape.
On the other hand, if you get the tape, you don't need the silicone glue, saving $6.28.
(Masking tape works, but it is tedious and hard to get right.)
Where to buy the parts
Objective lens. Ordered online from Surplus Shed, www.surplusshed.com, $8 here: ACHROMATIC OBJECTIVE LENS SET 52MM DIA X 600MM FL CTD. (Shipping is $6.00)
Set of three eyepieces. From Surplus Shed, $11.50: SET OF (3) 0.965" EYEPIECES.
Star Diagonal Mirror From Surplus Shed, $6.95: INEXPENSIVE .965" MIRROR STAR DIAGONAL.
Focusing Tube. This is a piece of PVC pipe, 1 1/4 inch "schedule 40" from Home Depot, store SKU #987414, $7.31 here: Charlotte Pipe 1-1/4 in. x 2 ft. PVC Sch. 40 Pipe.
Telescope Tube. This is a piece of ABS pipe, foam core "schedule 40" from Home Depot, SKU #372813, $8.97: Charlotte Pipe 2 in. x 2 ft. ABS Foam Core Schedule 40 Drain, Waste and Vent (DWV) Pipe.
Dewcap. This is a PVC pipe coupling for 2 inch pipe from Home Depot, Store SKU #000294128, $2.43 here: Nibco 2 in. ABS DWV Hub x Hub Coupling.
If you prefer white, you could get this one for the a bit cheaper, Store SKU #232750, $2.11 here: Charlotte Pipe 2 in. PVC Schedule 40 S x S Coupling.
Flat Black Spray Paint. This is needed to stop reflections inside the telescope tube. I used Rust-Oleum Painter's Touch Flat Black, store SKU #621138, $6.58 here: Rust-Oleum Painter's Touch 2X 12 oz. Flat Black General Purpose Spray Paint.
Masking Tape. Not needed if you get the 3-D printed parts.
Tape is wrapped around the star diagonal and objective lens to make them fit inside the telescope tube. It is also needed to make the focusing pipe fit snugly inside the telescope tube. Adjust the amount of tape to allow the inner pipe to slide, allowing you to focus the telescope. The tape is from Home Depot, store SKU #690187, $2.98 here: 3M Scotch 0.94 in. x 60.1 yds. Contractor Grade Masking Tape.
Silicone glue. Not needed of you use the tape instead of 3-D printed parts. From Home Depot $6.28 store SKU #1002890356 Loctite Clear Silicone 2.7 fl. oz. Waterproof Sealant.
Screw eyes Small screw eyes from Home Depot $1.38 store SKU #525691 Everbilt #216 x 1/2 tpi x 1/2 in. Zinc-Plated Steel Screw Eye, 8-Piece.
Machine screw Used to prevent the star diagonal from falling out. From Home Depot $1.38 store SKU #527987 [#8-32 x 3/4 in. Combo Round Head Stainless Steel Machine Screw, 5-Pack] (https://www.homedepot.com/p/Everbilt-8-32-x-3-4-in-Combo-Round-Head-Stainless-Steel-Machine-Screw-5-Pack-814221/204274788)
Camera Tripod. You need some way to hold the telescope steady and a tripod works well. Check Walmart. You could try this: Search Walmart for tripods. I also found that Daiso is currently selling a tripod for $6.25. It is a bit small (4 feet max height) and a bit flimsy.
Tools
- PVC cutter. I used a miter saw because it makes perfect 90 degree cuts.
- Sandpaper. Coarse and fine for cleaning the pipe and removing sharp edges. I used coarse sandpaper inside the ABS pipe to cut down reflections.
- Acetone. Technically this is not a tool, but it is very useful for cleaning up spray paint. (Note: Home Depot might not sell Acetone without I.D.) Be careful! Acetone melts certain plastics.
- Alcohol. Useful for removing fingerprints from lens surfaces. (Don't use acetone for cleaning lenses.)
- 1/4-20 tap and No.7 (or 3/16") drill bit for making the threaded hole the camera tripod holds on to. I had my own already but you can get it at Home Depot, Drill America 1/4 in. -20 High Speed Steel Tap and #7 Drill Bit Set (2-Piece)
- 5/32 inch drill bit, to make a hole for the set screw. A tap isn't needed because the plastic is soft enough for the screw to make its own threads.
- Drill. I used a battery-powered drill which can spin slowly for making the 1/4-20 thread.
Notes
Note 1. 1 1/4 PVC actually has a 1.35 inch i.d. and 1.66 inch o.d. according to my measurements. The name "1 1/4 inch" is just a name.
Note 2. 2 inch ABS pipe actually has a 2.03 inch i.d. and 2.38 inch o.d.
Pictures
I can provide the 3D printed parts for the cost of mailing. Or, I can email the STL files to you. Or, you can use the masking tape technique to adapt diameters. This is described in the videos for the older 2020 version of the telescope.
Peter Halverson 9/2022
phalverson@mtsac.edu
pghalverson@gmail.com